Sometimes, a new NVIDIA driver update is the reason behind lower FPS in games, crashes, screen flickering, or software not working properly. In situations like these, rolling back to a previous driver version can fix the issue. Thankfully, Windows 11 and Windows 10 both come with a built-in rollback feature, and NVIDIA also provides older drivers on its official website. So, in this guide, I decided to explain the whole process of rolling back NVIDIA drivers step by step.
Things to Do Before Rolling Back NVIDIA Drivers
Before you roll back the driver, take a few basic steps to avoid problems. For example, you should first confirm which driver version is currently installed.
- Right-click the Start button.
- Click Device Manager.
- Expand Display adapters.
- Right-click your NVIDIA graphics card and click Properties.
- Go to the Driver tab.
- Note the Driver Version.
This will help you in the future to confirm that the rollback worked.
Create a system restore point
A restore point allows you to return your system to an earlier state if in case something goes wrong. Here’s how to do it:
- Press Windows + S and search for Create a restore point.
- Open it.
- Under the System Protection tab, click Create.
- Enter a name and click Create.
Windows will save your current system state.
How to Roll Back NVIDIA Drivers Using Device Manager?
This is mostly the simplest andsafest method to roll back the NVIDIA drivers. However, make sure that the previous driver version is stored on your system.
Step 1: Open Device Manager
Right-click the Start button and select Device Manager.
Step 2: Find your NVIDIA graphics card
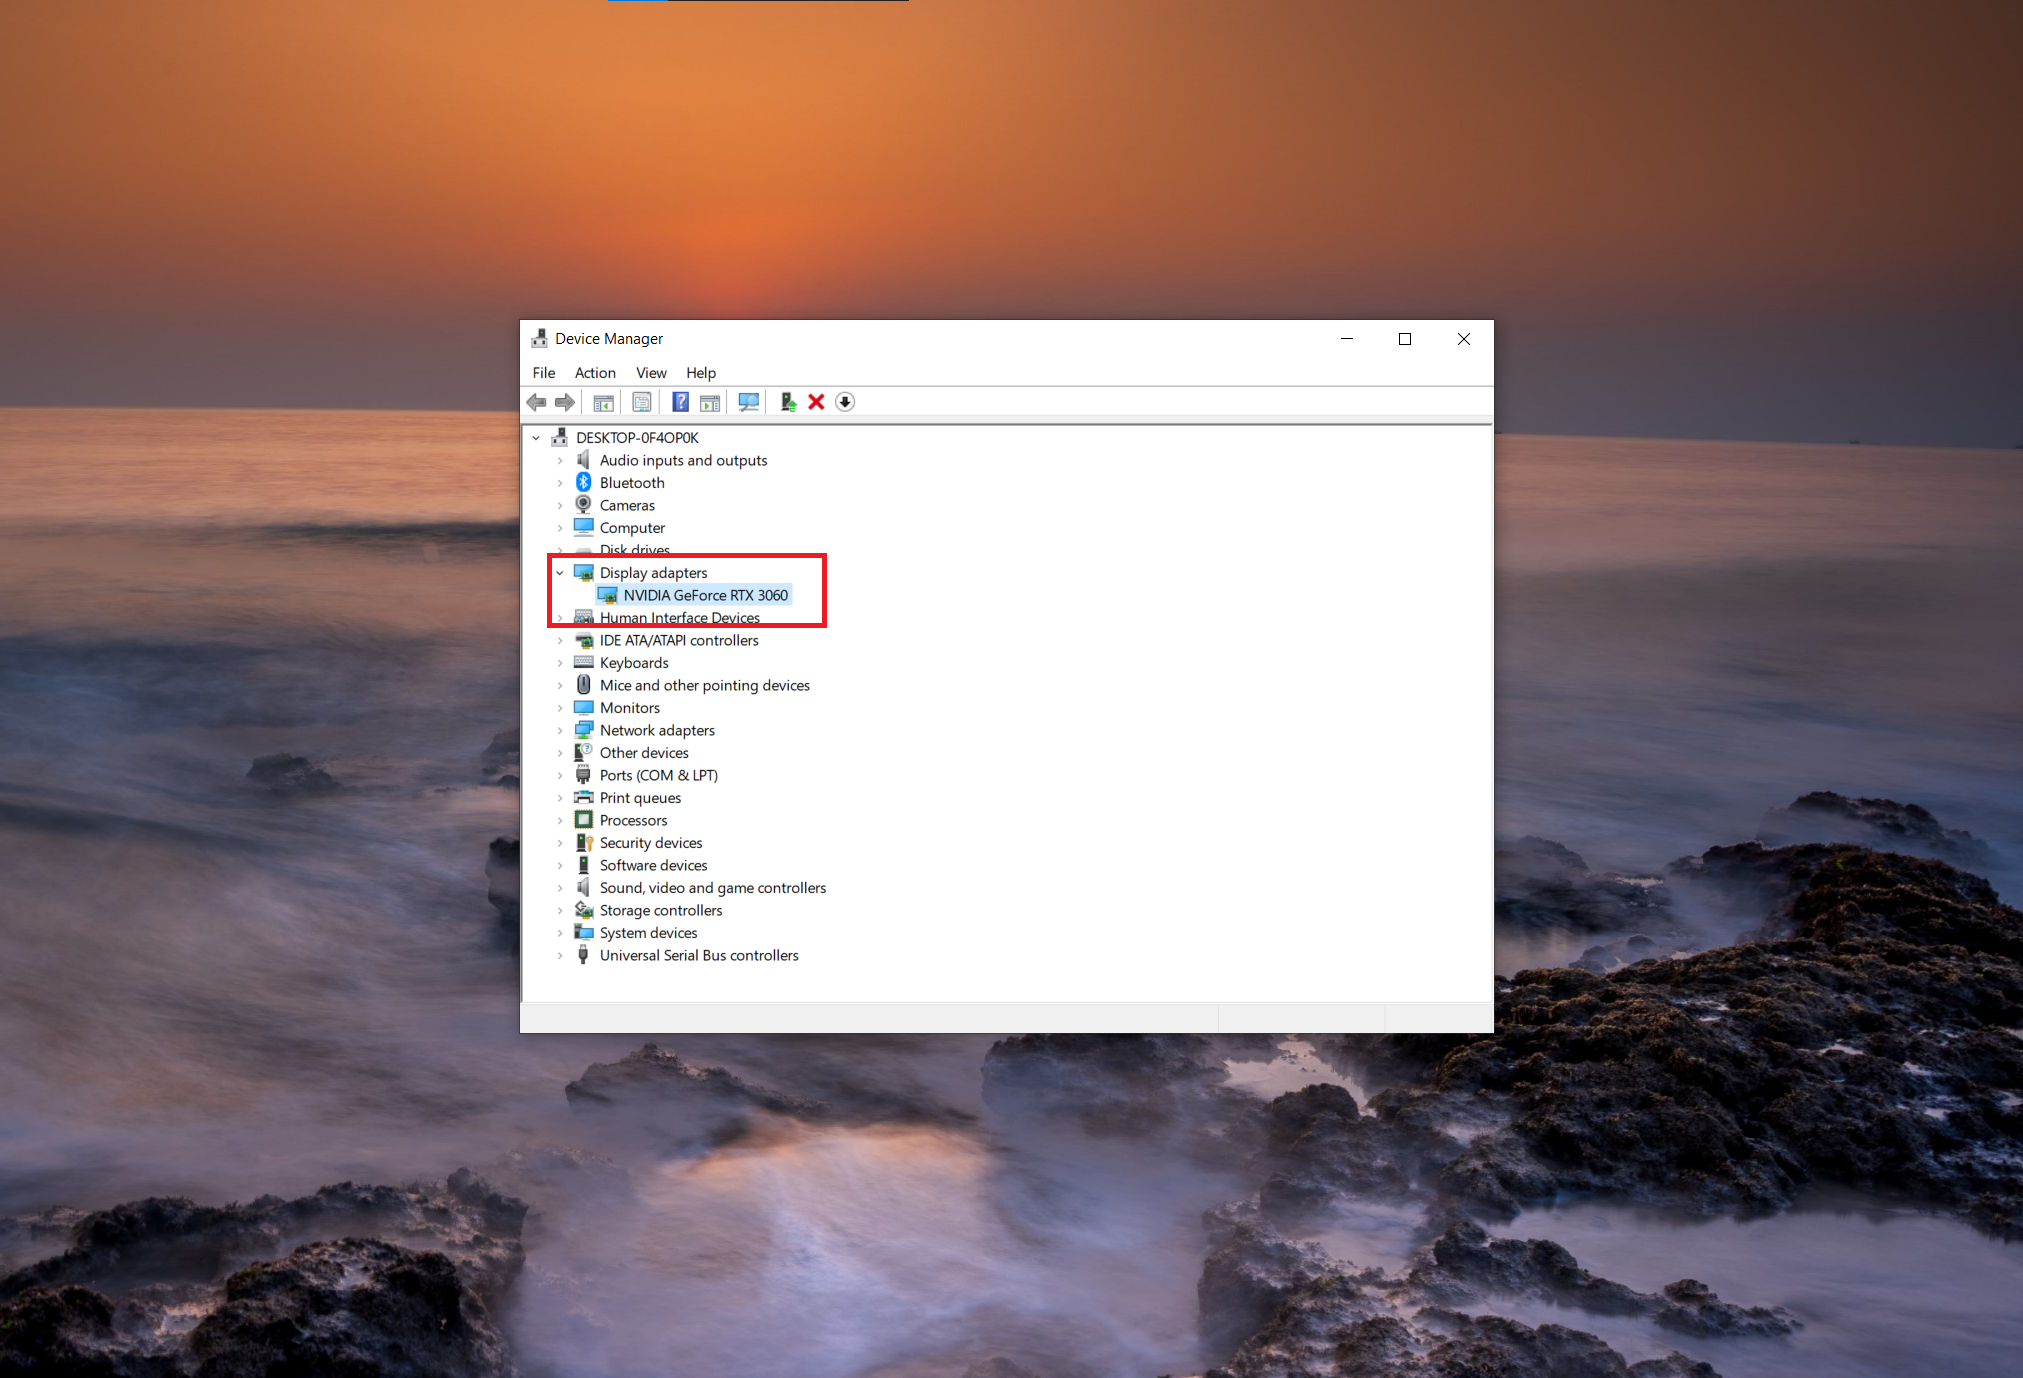
Click Display adapters and find your NVIDIA GPU in the list.
Step 3: Open Properties
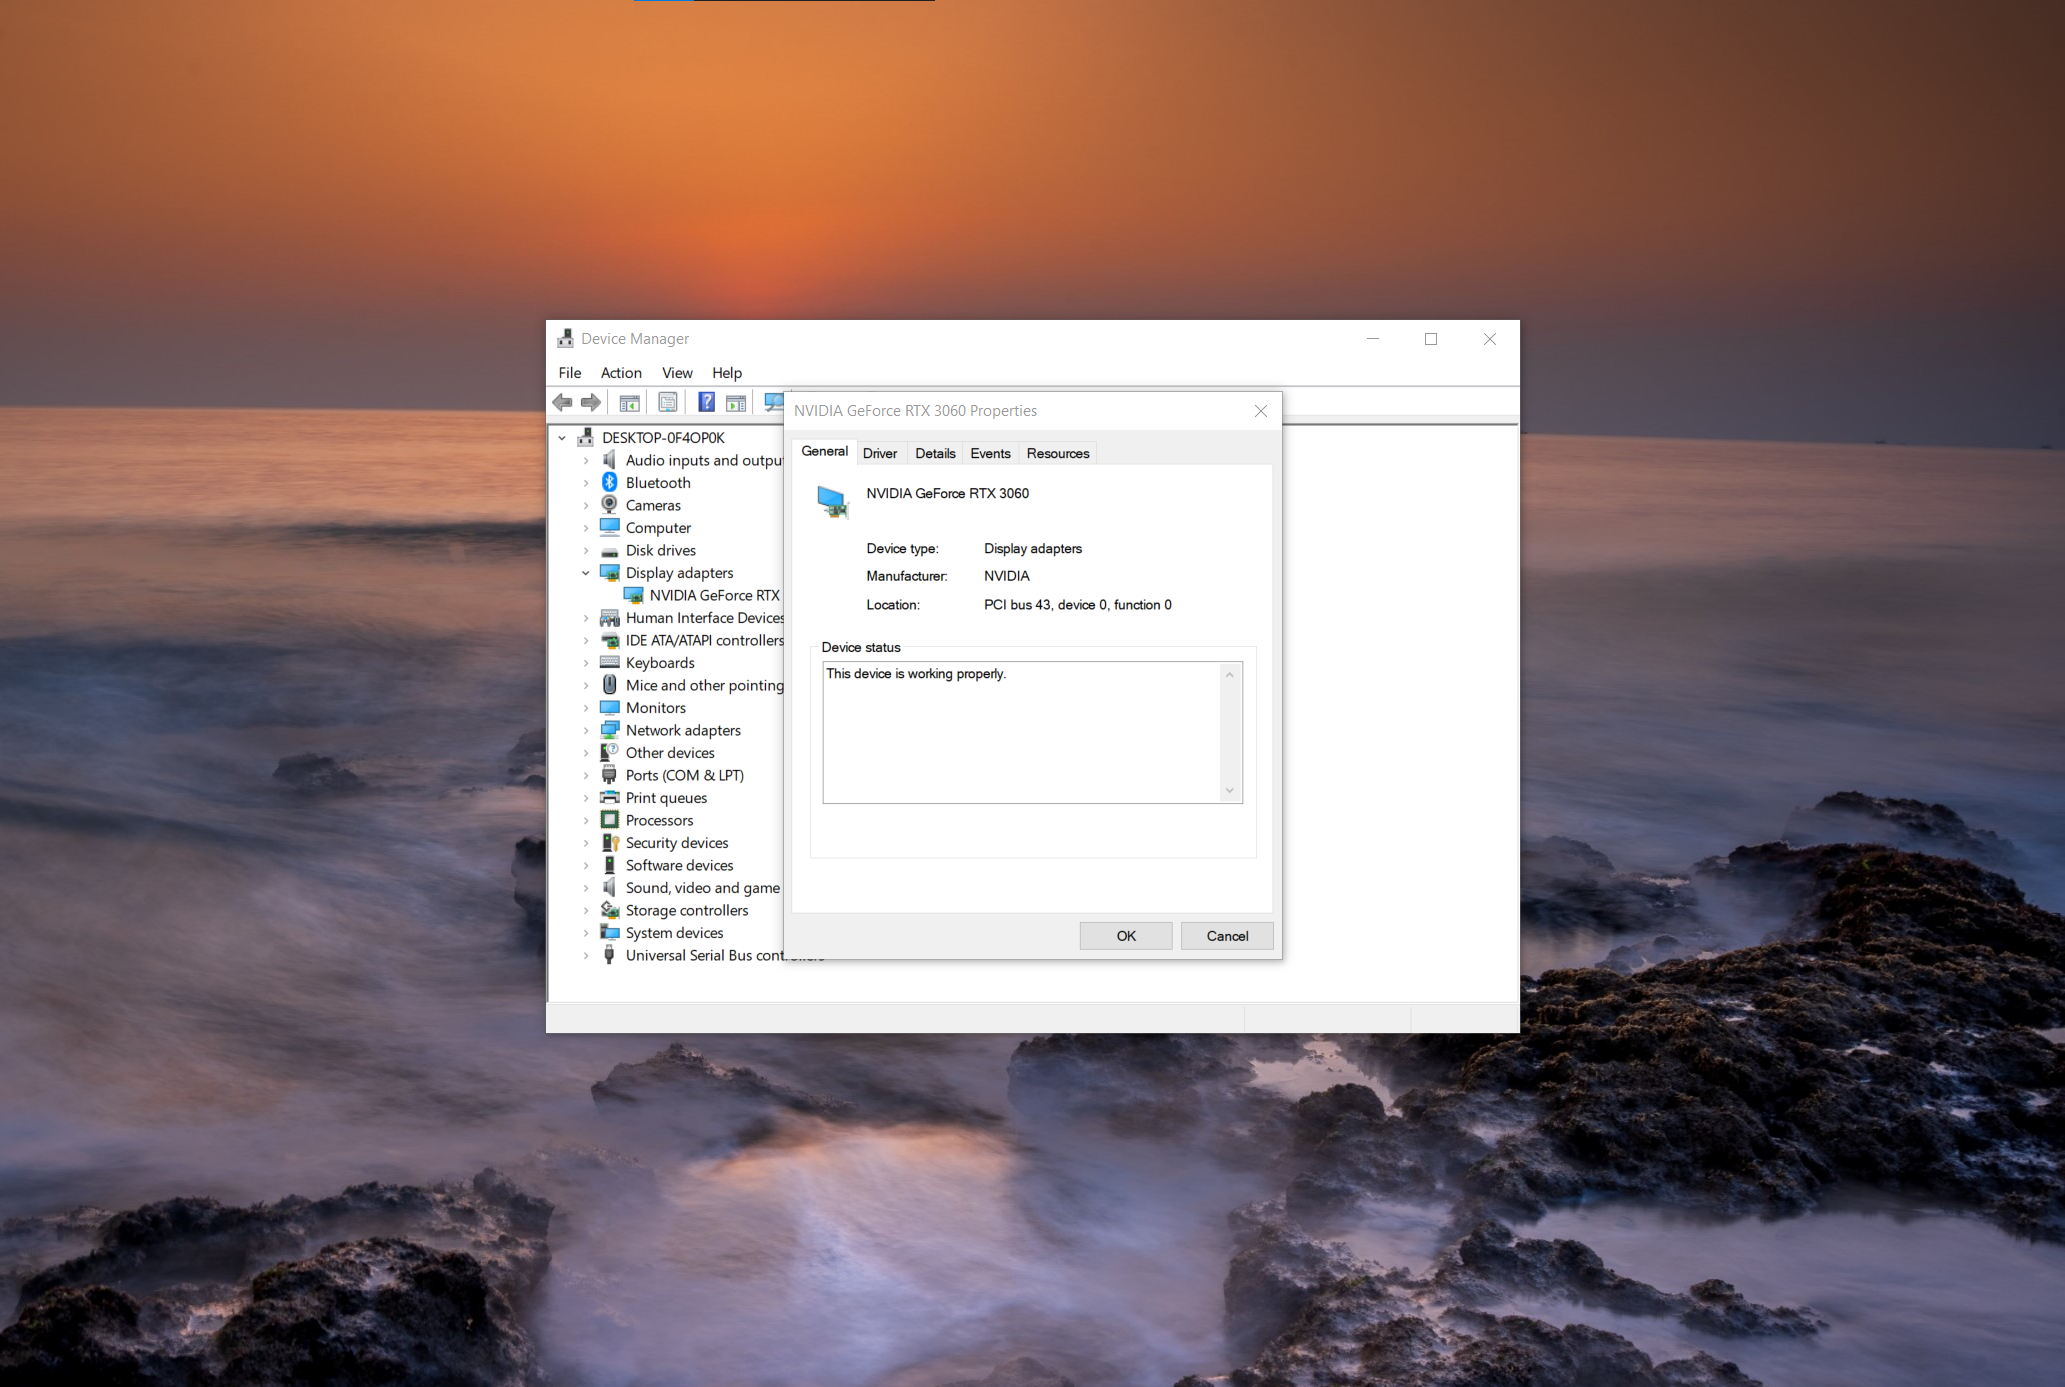
Right-click the NVIDIA GPU and click Properties.
Step 4: Click the Roll Back Driver option
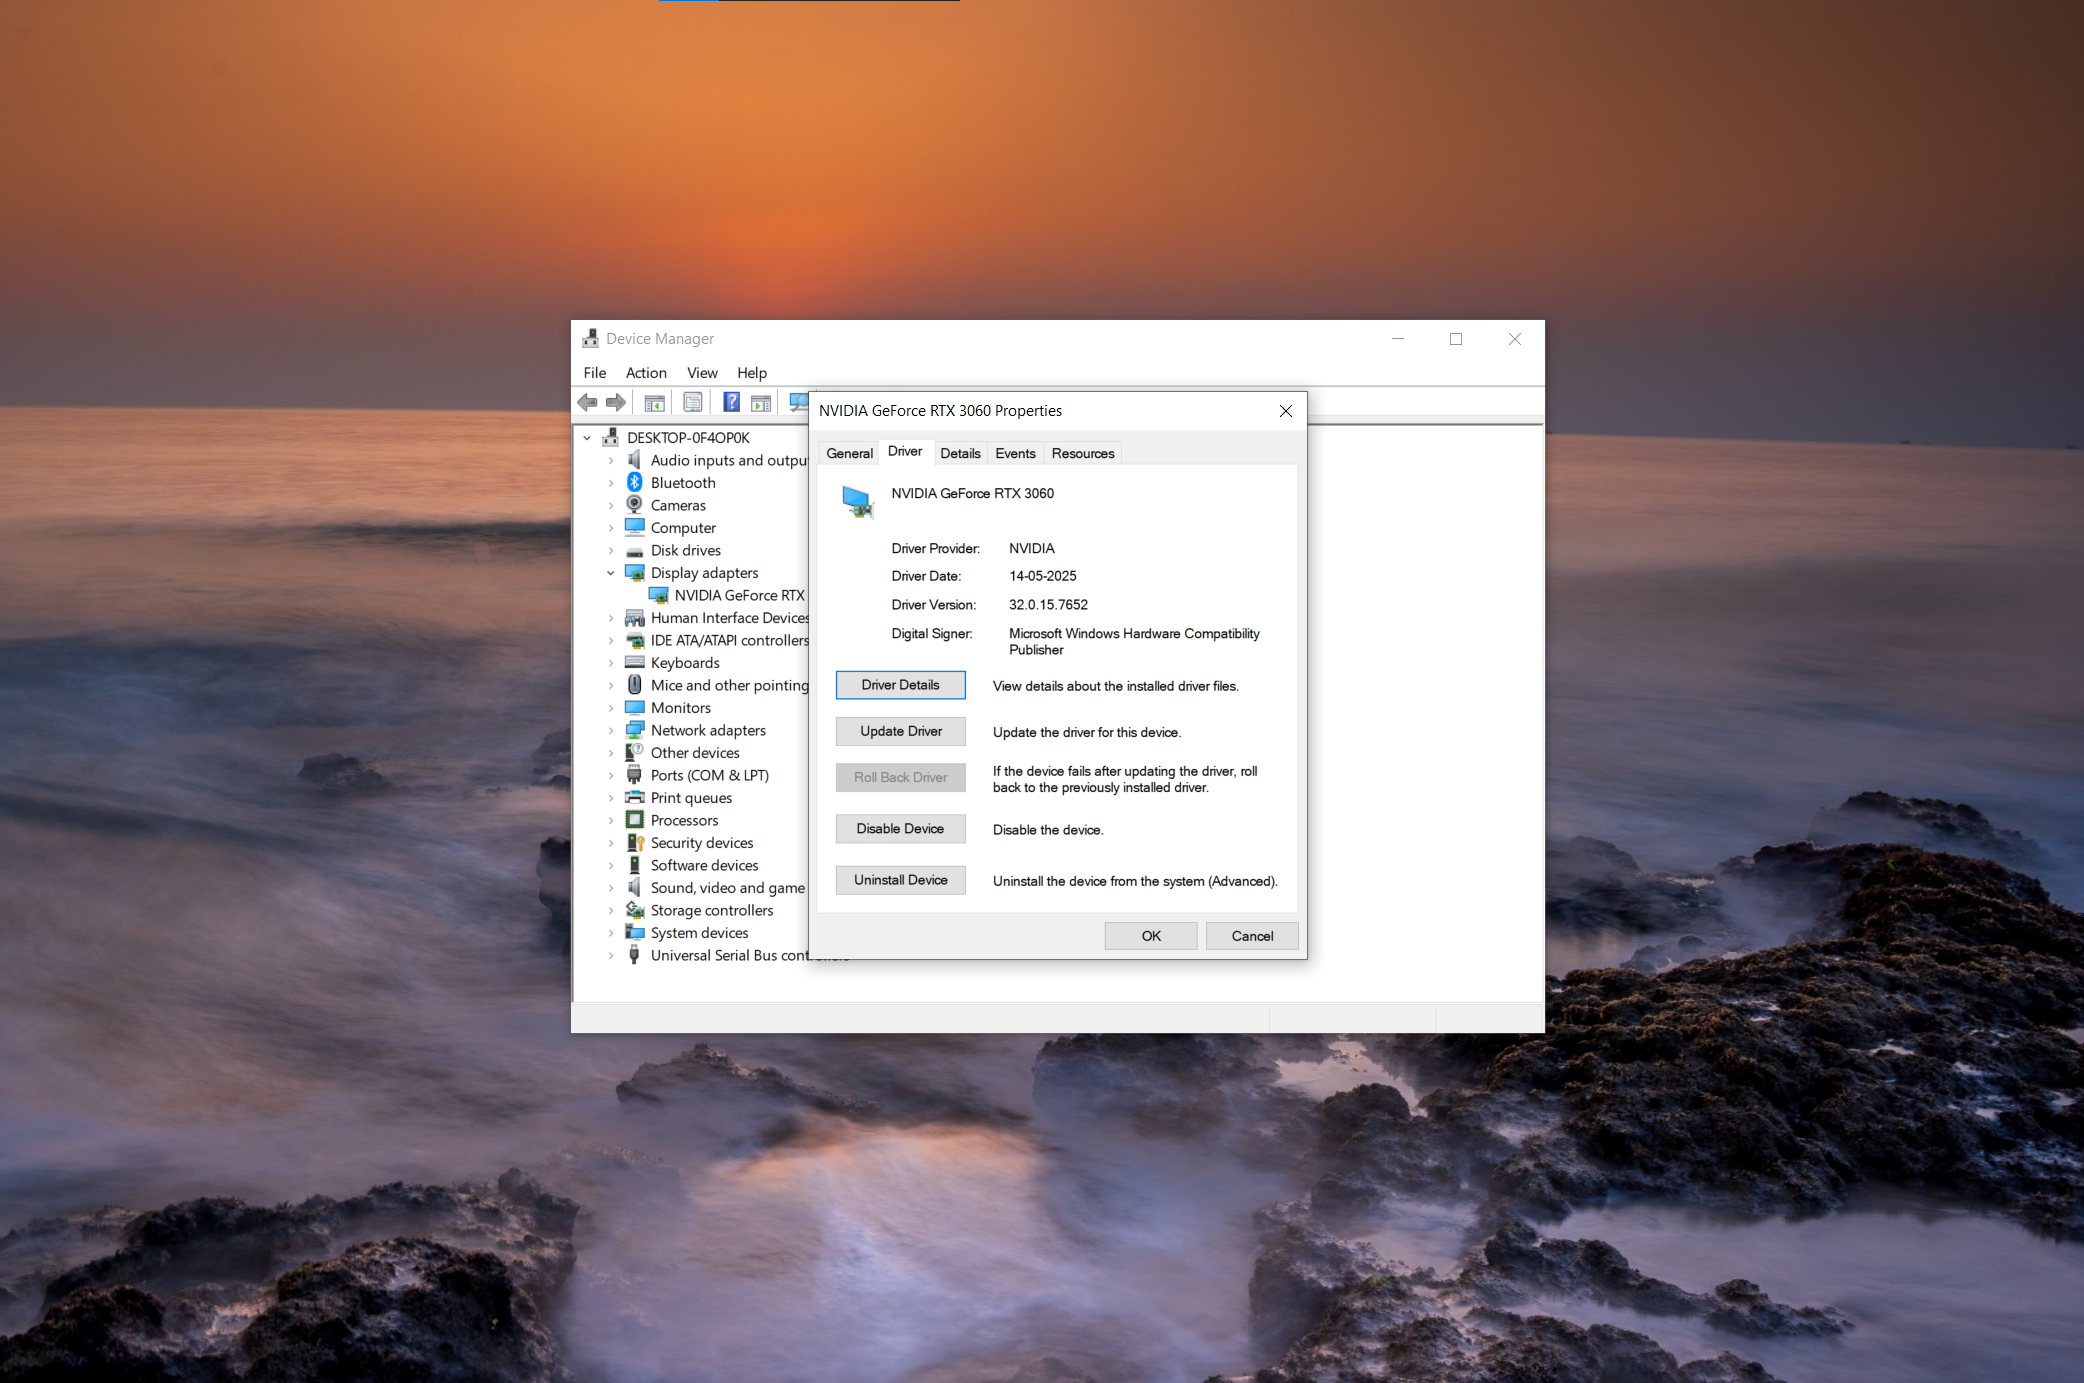
Go to the Driver tab, click Roll Back Driver, select a reason, and click Yes.
Step 5: Restart your computer
Restart your PC to apply the previous driver properly.
What to Do If the Roll Back Driver Option Is Greyed Out
If the Roll Back Driver button is greyed out, it means Windows does not have a previous driver version saved on your system. This usually happens if you installed the driver using the clean installation option, updated drivers after a fresh Windows install, or never updated the driver before.
In this situation, you cannot use the built-in rollback feature. Instead, you will need to manually download and install an older driver from NVIDIA’s official website or use System Restore if a restore point is available. I have mentioned all the methods below:
Method 1: Install older NVIDIA drivers manually
- Visit the official NVIDIA driver download page
- Fill out your product details
- Click Search
- Download an older version (based on release date)
- Run the installer
- Restart your computer
Method 2: Use NVIDIA official driver download page
NVIDIA provides all its drivers on its official website, including older versions. You can search for your exact graphics card model and download a previous driver that was released before the issue started.
This is one of the safest ways to roll back because the files come directly from NVIDIA and are fully compatible with your GPU and Windows version. However, make sure to select the correct GPU model and Windows version before downloading.
Method 3: Use Windows System Restore
System Restore can revert drivers, registry settings, and system files. So in situations where the driver update was recent, follow the below mentioned steps:
- Press Windows + S
- Search Recovery
- Click Open System Restore
- Click Next
- Select a restore point created before the NVIDIA update
- Click Finish
How to Check If the NVIDIA Driver Rollback Was Successful?
After a restart, it’s important to confirm that the NVIDIA drivers were successfully rolled back. Follow the steps mentioned below to check:
- Open Device Manager
- Expand Display adapters
- Right-click your NVIDIA GPU
- Click Properties
- Open the Driver tab
Check:
- Driver Version
- Driver Date
FAQs
Use Windows Device Manager to roll back. Right-click Start, select Device Manager, expand Display adapters, right-click your NVIDIA GPU, go to Properties > Driver tab, and click Roll Back Driver if available. Select a reason and confirm.
In Device Manager, find your NVIDIA GPU under Display adapters, right-click it, choose Properties, switch to the Driver tab, and select Roll Back Driver. Restart your PC after completion; this reverts to the previously installed version.
The Roll Back option is grayed out if no previous driver is saved, you did a clean install erasing old files, or Windows Updates overrode it. Download and install an older driver manually from NVIDIA’s site in such cases.
It can fix games if issues like crashes or stuttering started after a driver update, as older versions may be more stable for specific titles. However, it won’t resolve hardware faults, game bugs, or other non-driver problems.