If you are running a local large language model (LLM), training a neural network, or rendering complex 3D scenes, your graphics card is the heart of your workstation. But even the most powerful RTX GPU is only as good as the software instructing it. Knowing exactly how to update NVIDIA drivers is important for maximizing AI performance.
Outdated drivers can cause CUDA compatibility issues, reduced GPU performance, or crashes in frameworks like PyTorch and TensorFlow. Keeping drivers updated ensures compatibility with newer CUDA versions and AI frameworks. By keeping your drivers current, you ensure that your GPU can effectively communicate with the latest AI frameworks and operating system updates.
Whether you are a seasoned data scientist or a PC building enthusiast, this guide will walk you through how to update NVIDIA drivers, troubleshoot, and uninstall your drivers on Windows.
How to Check Your Current NVIDIA Driver Version
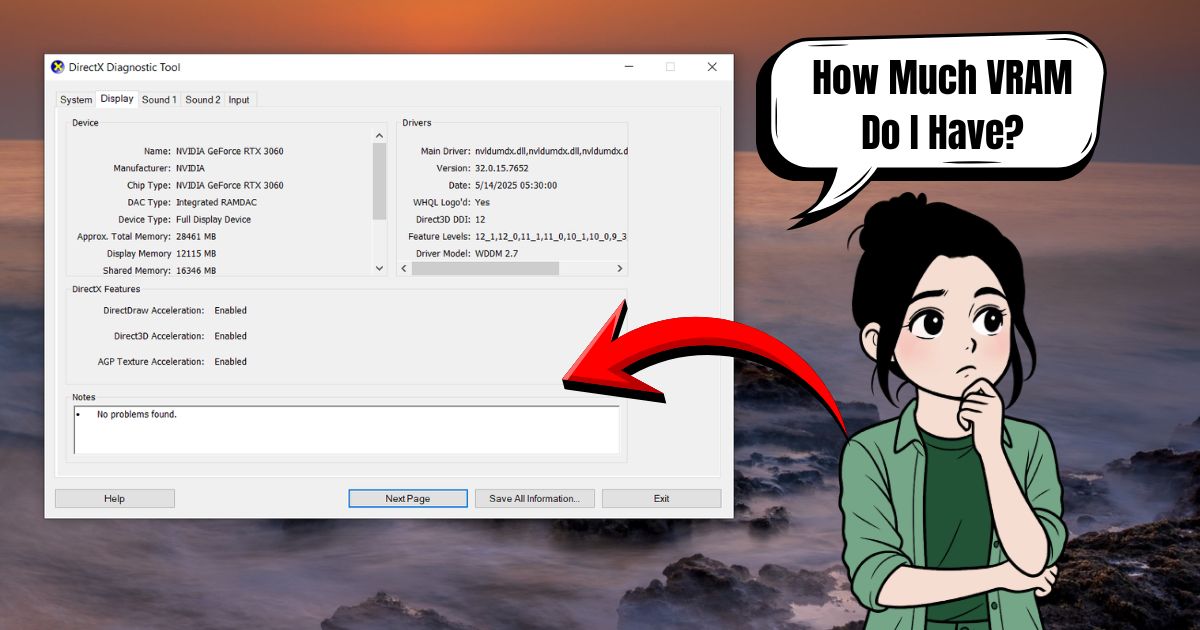
Before installing a new driver, it is useful to check which version is currently installed on your system. This helps you confirm whether your GPU drivers are outdated or already up to date.
Here are three simple ways to check your NVIDIA driver version on Windows:
- Right-click anywhere on the desktop.
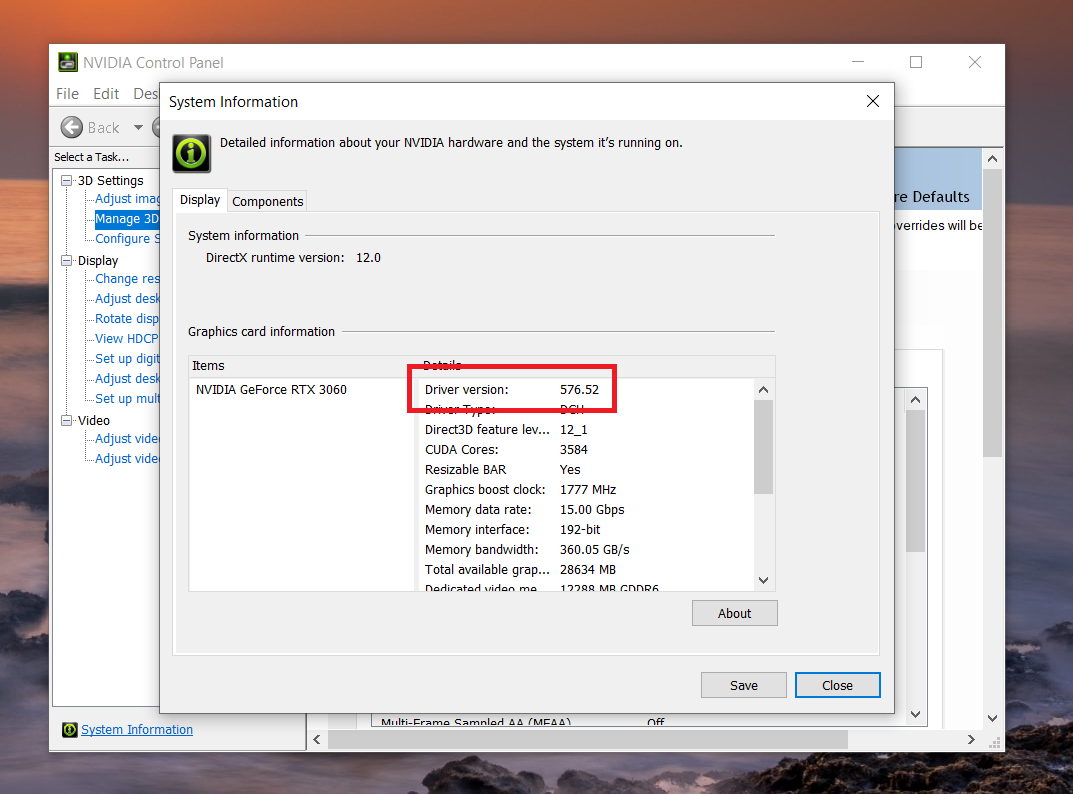
- Click NVIDIA Control Panel.
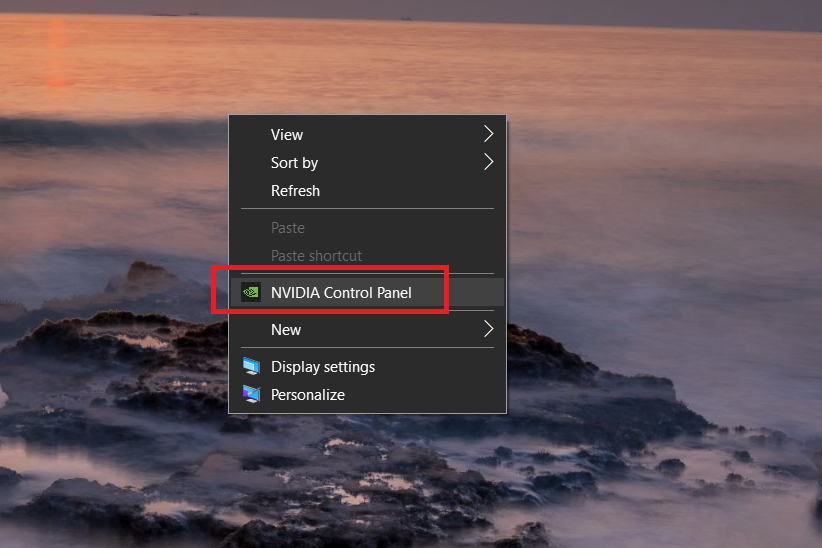
- In the bottom-left corner, click System Information.
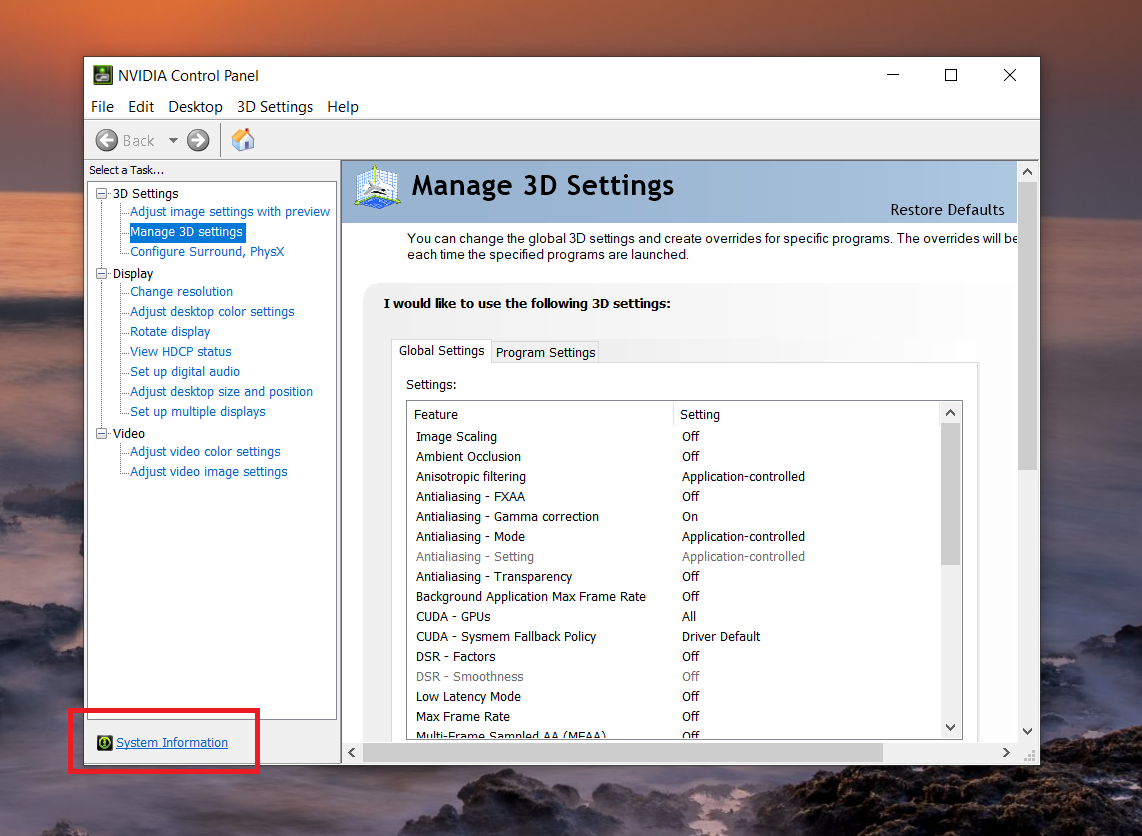
- Look for Driver Version under the Details section.
How to Update NVIDIA Drivers
Before hitting the download button, you need to choose the right driver for your specific workload. NVIDIA offers two branches of drivers:
- Game Ready Drivers (GRD): These are optimized for day-one releases of the latest PC games. If your primary goal is gaming, this is your choice.
- NVIDIA Studio Drivers (SD): TNVIDIA Studio Drivers are designed for creative workflows such as 3D rendering, video editing, and content creation. They receive additional testing for professional applications and are updated less frequently than Game Ready drivers.
Here’s how to update your NVIDIA drivers using the two most reliable methods:
Using the NVIDIA App or GeForce Experience
NVIDIA is currently transitioning users from the legacy GeForce Experience software to the NVIDIA App. The process for both is nearly identical and is the easiest way to keep your system up to date.
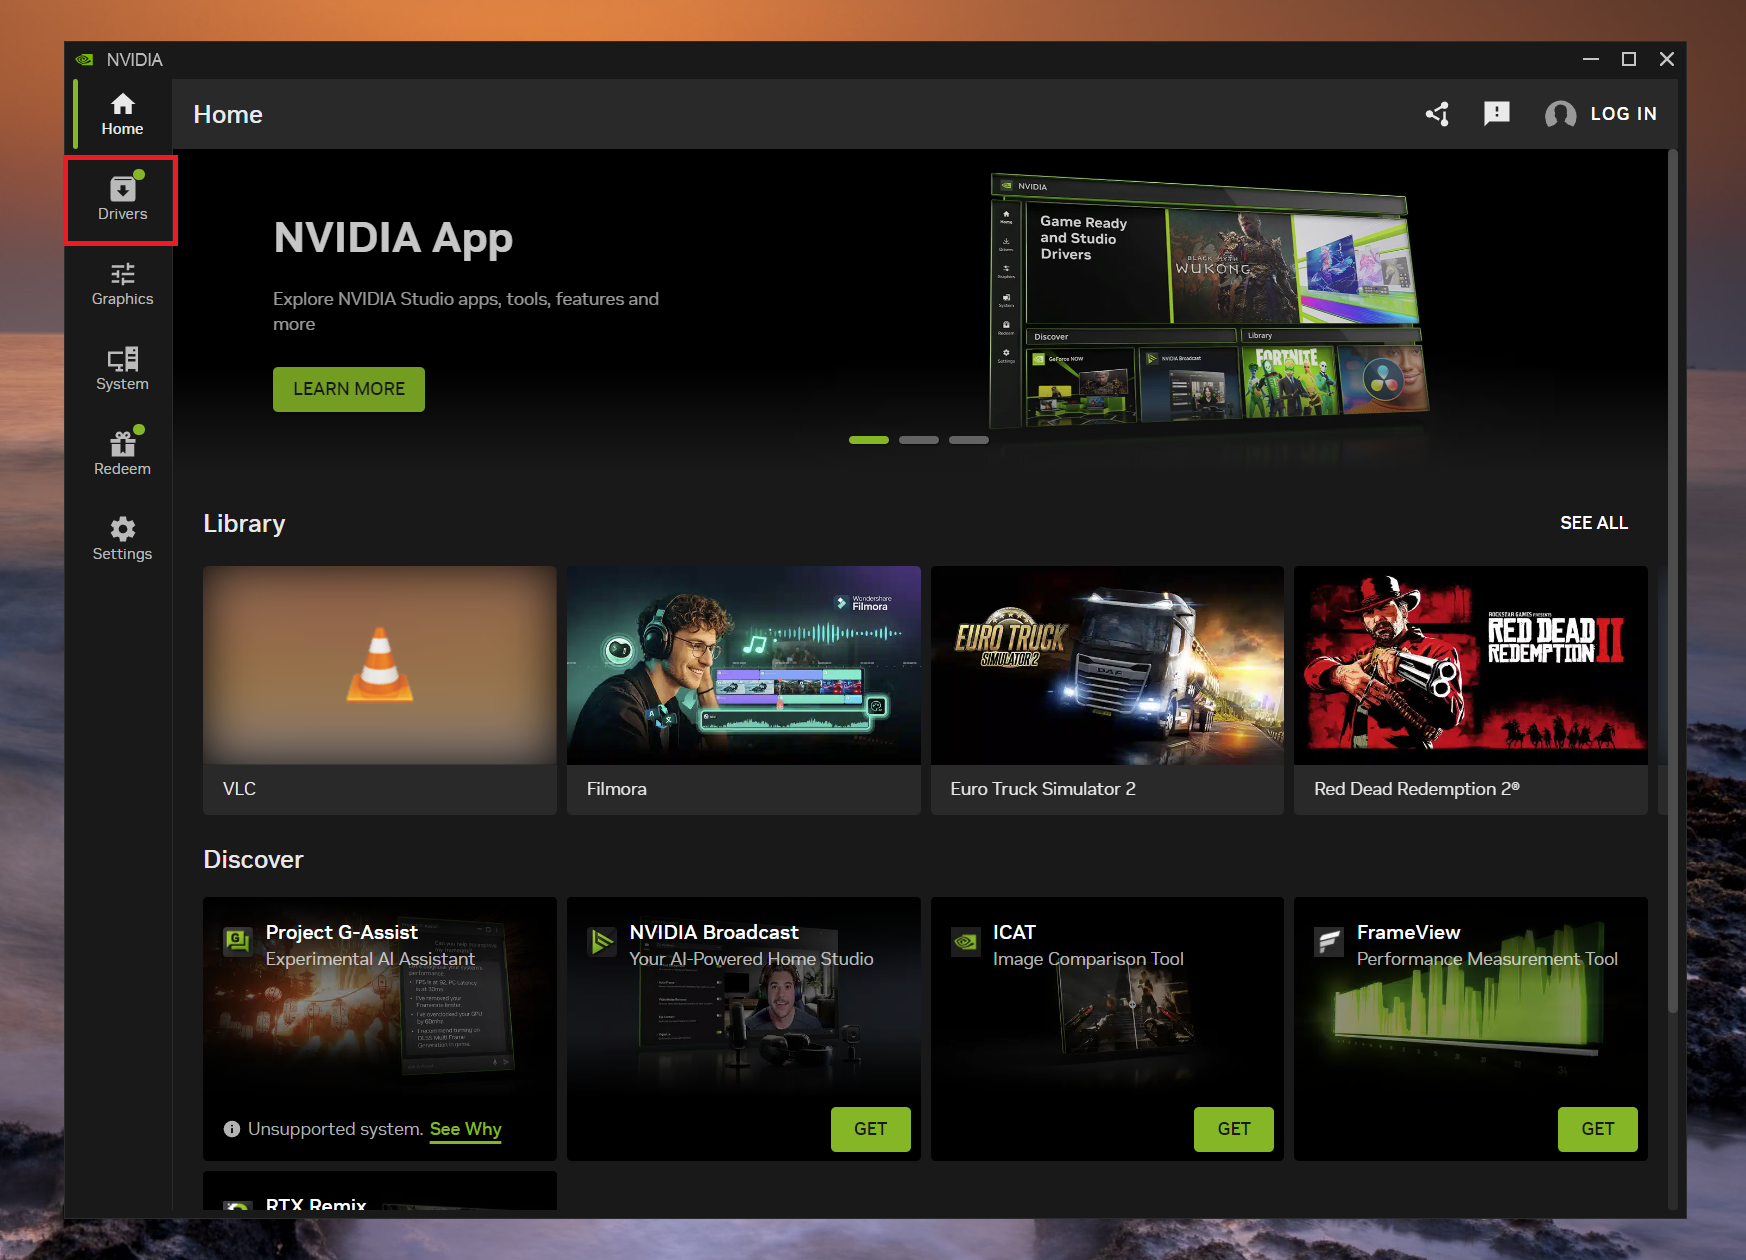
- Open the NVIDIA App from your Windows Start menu.
- Navigate to the Drivers tab located at the top or left-hand navigation bar.
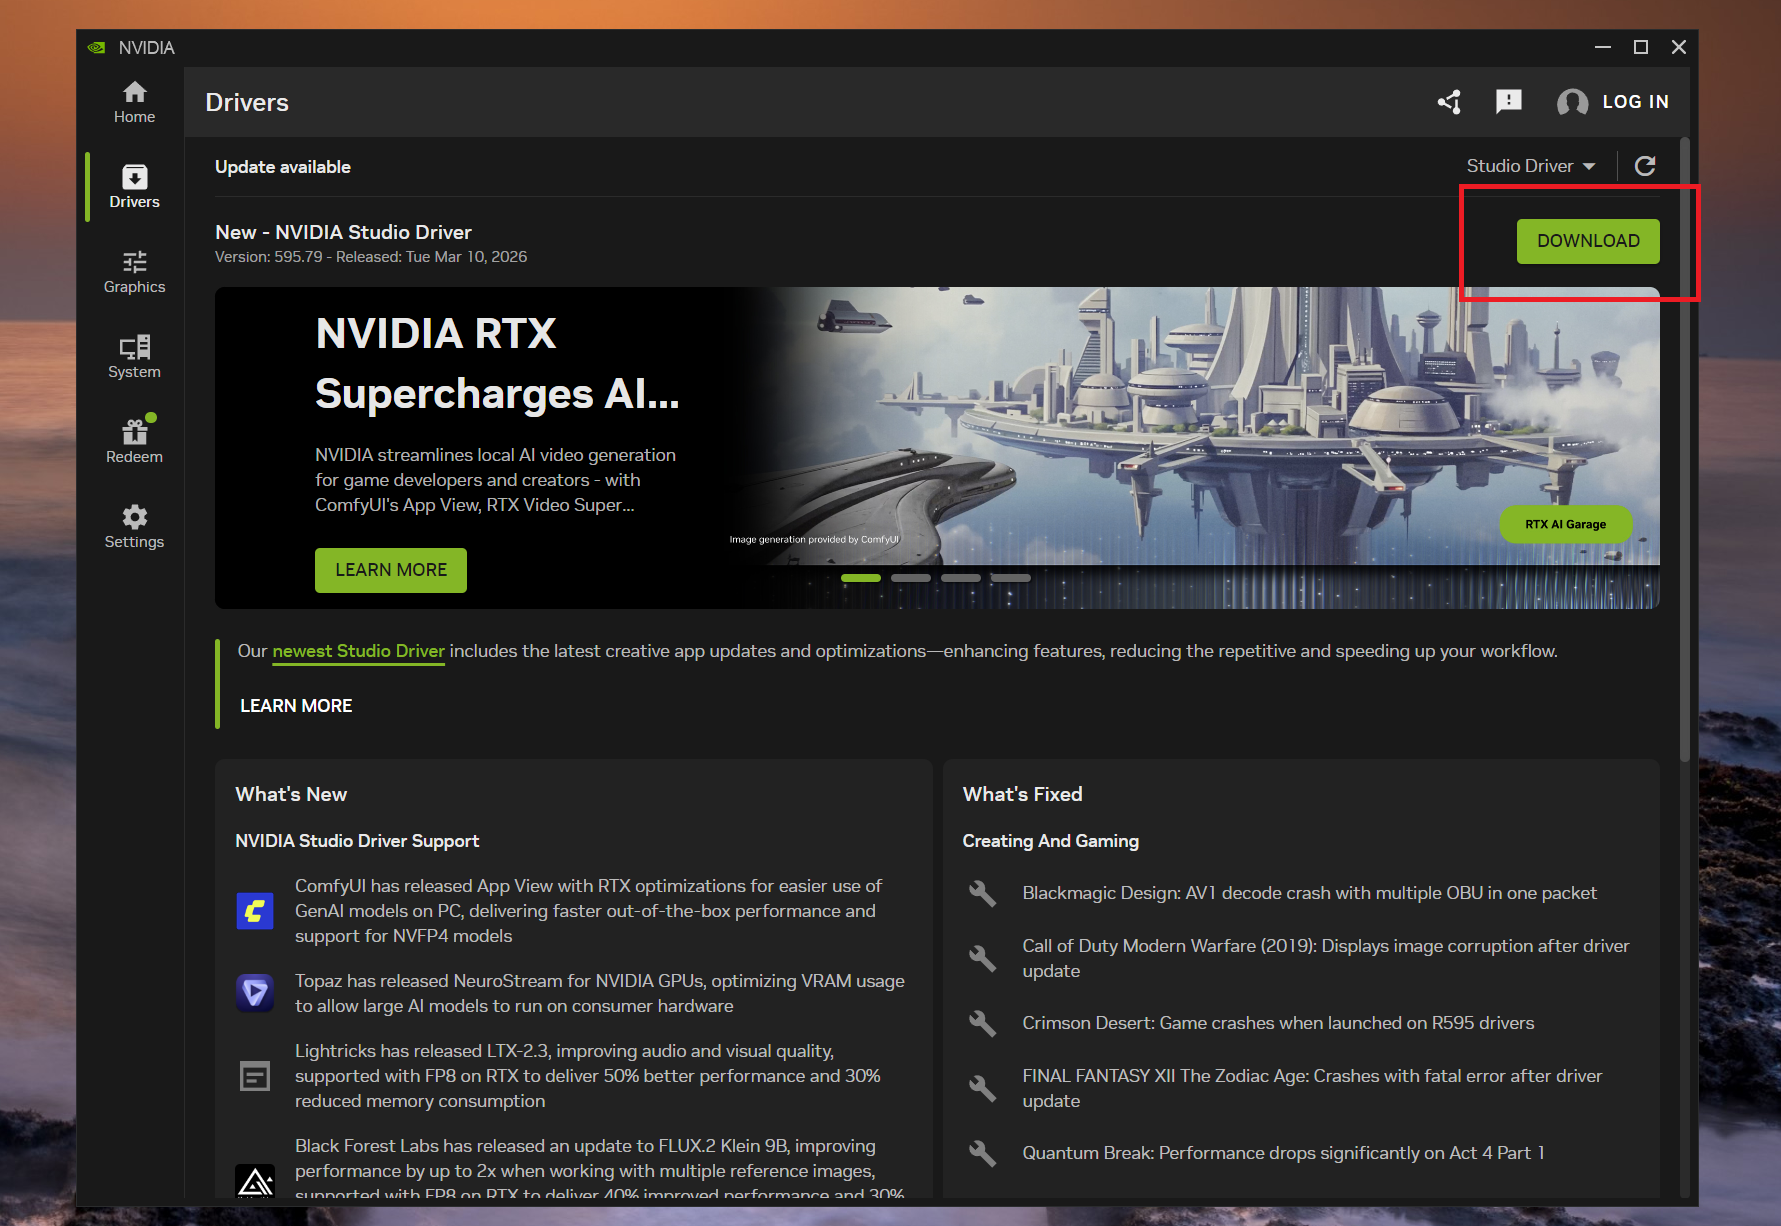
- If an update is available, you will see a green Download button. Click it.
- Once downloaded, choose Express Installation installs the recommended driver components automatically, while Custom Installation lets you choose components and perform a clean install.
Tip: In the top right corner of the Drivers tab, you can click the three-dot menu to toggle your preference between Game Ready and Studio Drivers.
Manual Download via the NVIDIA Website
If you prefer not to use background software, you can download the drivers directly.
- Go to the official NVIDIA Advanced Driver Search webpage.
- Select your exact Product Type, Product Series, Product (e.g., RTX 4090), and Operating System.
- Under Download Type, select either Game Ready Driver or Studio Driver.
- Click Search, download the .exe file, and run it to follow the on-screen installation wizard.
Update Drivers via Windows Device Manager
If you are troubleshooting a specific system error, you can also trigger a driver update directly through Windows.
- Right-click the Windows Start button and select Device Manager.
- Expand the Display adapters drop-down menu.
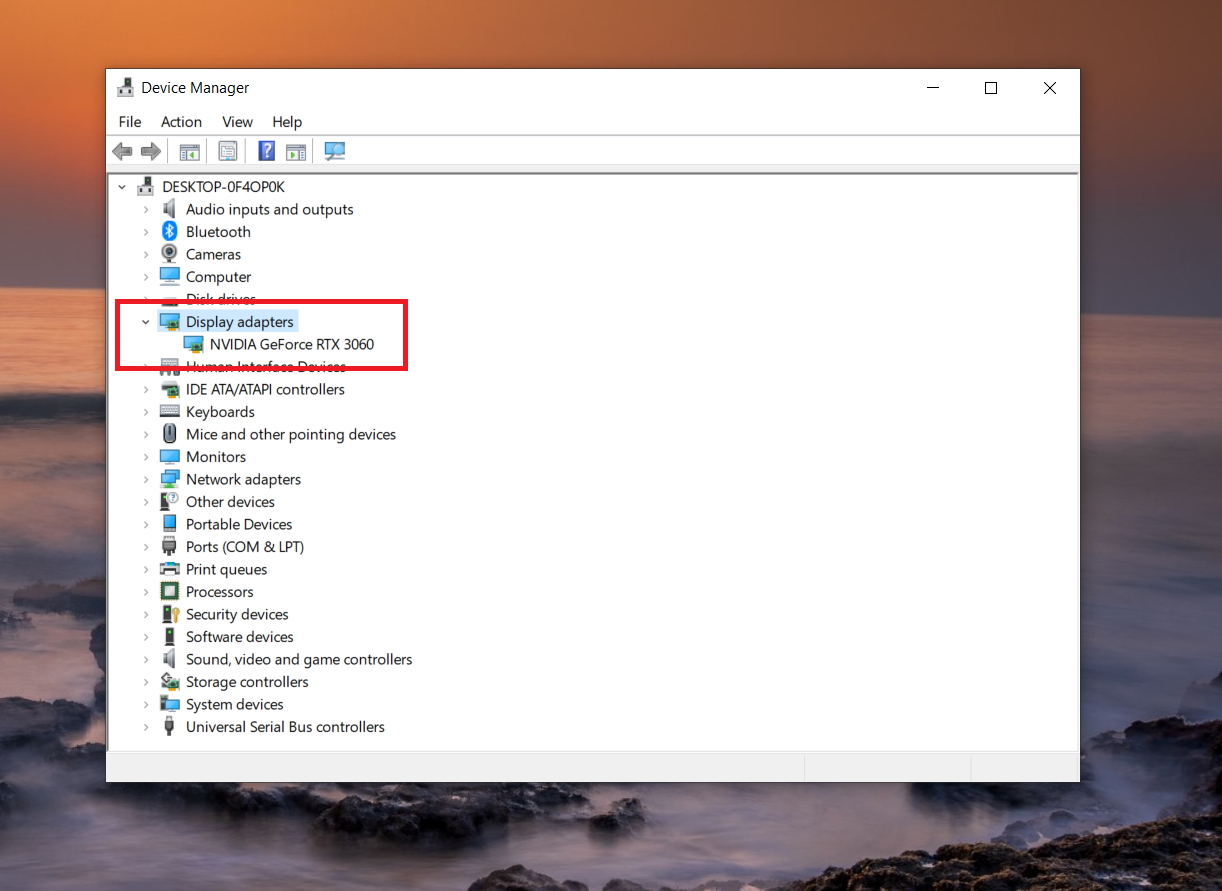
- Right-click your NVIDIA graphics card and select Update driver.
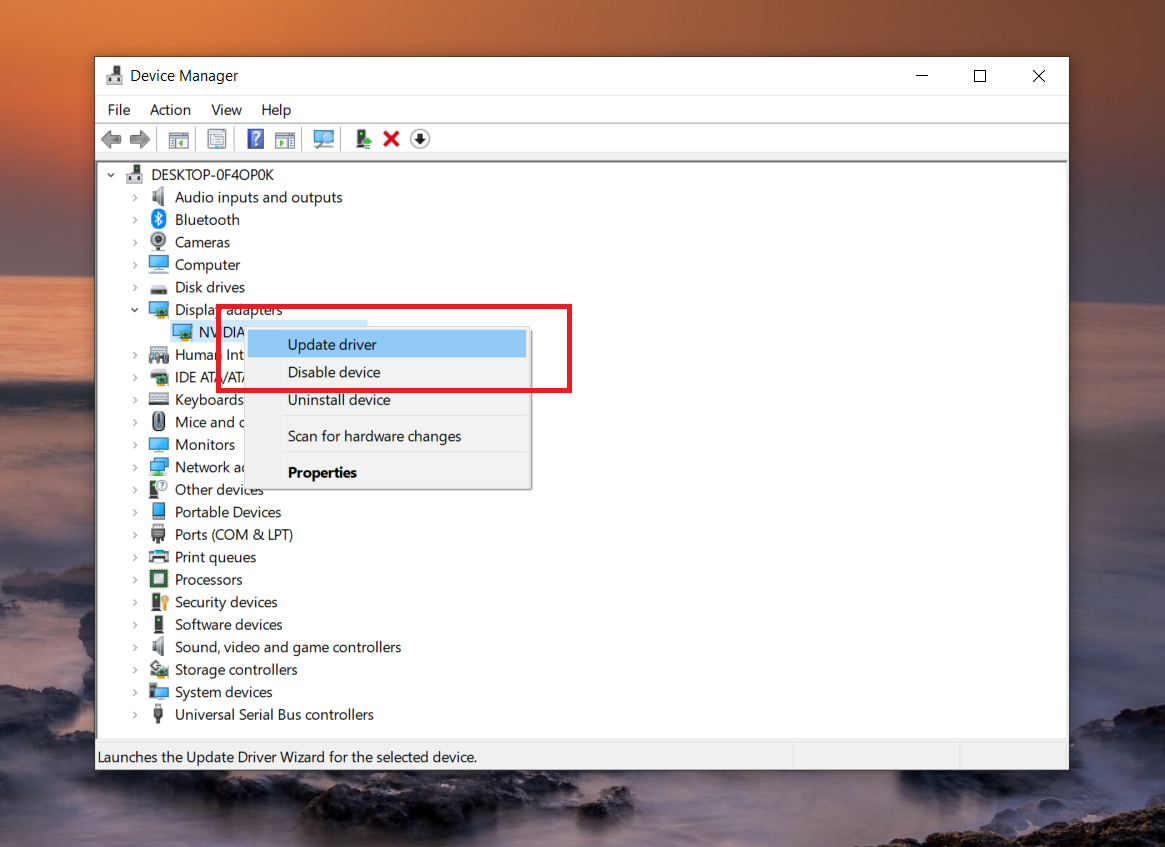
- Choose Search automatically for drivers to let Windows find the best available generic driver.
Important Note for Windows 10 Users (The EA App Bug): If you are wondering how to update NVIDIA drivers on Windows 10 but the installation keeps freezing or failing, background applications are likely the culprit. Some background apps with overlays (such as Steam, Discord, or game launchers) can occasionally interfere with driver installations. Closing them before installing drivers can help avoid conflicts.
Before starting your driver update, you should force close these background processes:
- Press Ctrl + Shift + Esc to open the Task Manager.
- Locate the EA App (and any other game launchers like Steam or Epic Games) in the “Processes” list.
- Right-click the app and select End task.
- Proceed with your NVIDIA driver installation.
How to Uninstall NVIDIA Drivers?
Sometimes, simply updating your drivers isn’t enough. When complex AI workloads break, like getting stubborn “CUDA version mismatch” errors when running TensorFlow or PyTorch, a clean installation is required. To do this properly, you must first learn how to uninstall drivers for NVIDIA completely.
The Standard Windows Method
For a basic uninstall, you can use the built-in Windows tools:
- Open Windows Settings > Apps > Installed apps (or “Apps & features”).
- Type “NVIDIA” in the search bar.
- Locate NVIDIA Graphics Driver along with its version number.
- Click the three dots (or right-click) and select Uninstall.
- Restart your computer.
Using DDU (Display Driver Uninstaller)
Standard uninstalls often leave behind registry keys and temporary files that can continue to cause conflicts with your local AI models. For a perfectly clean slate, AI hardware enthusiasts and PC builders rely on a free, third-party tool called DDU (Display Driver Uninstaller).
- Download the latest version of DDU from its official source (Wagnardsoft).
- Download your new NVIDIA driver executable file ahead of time, and disconnect your PC from the internet (to stop Windows from auto-downloading an old driver).
- Boot your PC into Windows Safe Mode.
- Open DDU, select GPU and NVIDIA from the drop-down menus.
- Click Clean and restart.
- Once your PC reboots, install your freshly downloaded NVIDIA Studio Driver.
By mastering these steps, you guarantee that your GPU environment remains perfectly optimized for whatever heavy compute tasks you throw at it next.
FAQs
No, NVIDIA drivers do not update fully automatically by default. Tools like the NVIDIA App or GeForce Experience notify you when new drivers are available.
Open GeForce Experience, go to the Drivers tab, and click “Check for updates” to download and install the latest Nvidia GeForce drivers. Restart your PC after installation.
Yes, updating improves game performance, fixes bugs, and adds support for new features. Update if you notice issues like crashes or low FPS, or for the latest games.