If your computer fails to boot, displays graphical artifacts, or crashes under load, in most cases the culprit could be the GPU. However, in some cases, the GPU is fine, and the damage lies in the motherboard itself, specifically the PCIe slot or the power delivery pathways.
Distinguishing between a dead GPU and a damaged motherboard is important before you spend money on replacements. That’s why in this guide I will talk about how to diagnose the issue and determine if your graphics card has damaged your motherboard.
Can a GPU Really Damage a Motherboard?
Yes, a GPU can damage a motherboard. While motherboards are designed with various protections, the massive power draw and physical weight of modern graphics cards can introduce several failure points.
Power Surge and Short Circuit Risks
A GPU draws power from two sources: the external power cables (from the PSU) and the motherboard’s PCIe slot (up to 75 watts). If a GPU suffers a catastrophic VRM (Voltage Regulator Module) failure, it can send a surge back through the PCIe slot, frying the motherboard’s traces or the chipset. Conversely, a short circuit on the GPU PCB can trip protections that may damage weak components on the motherboard.
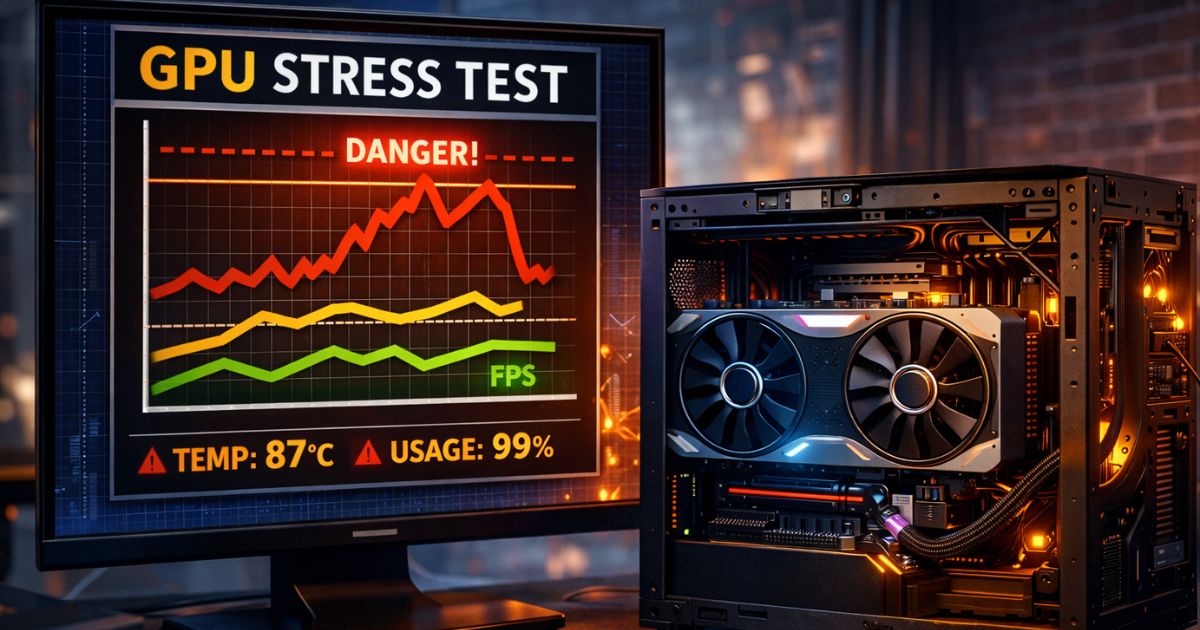
Overheating and VRM Stress
High-end GPUs generate immense heat. If the airflow of your case is poor, this heat can affects the surrounding motherboard components. Prolonged exposure to extreme heat can degrade the motherboard’s capacitors and solder joints located near the PCIe slot, leading to instability or failure.
Faulty PSU and Power Delivery Issues
Often, the GPU is just the conduit for the damage. A low-quality Power Supply Unit (PSU) sending unstable voltage to the GPU can cause a ripple effect. Apart from that the GPU may pass this instability onto the motherboard via the PCIe lane, damaging the sensitive communication lanes between the card and the CPU.
Physical PCIe Slot Damage
Modern GPUs, like the RTX 40 series, are heavy. Without a support bracket, the weight of the card creates torque on the PCIe slot. Over time, this “GPU sag” can crack the plastic slot housing or, worse, tear the solder points connecting the slot to the motherboard PCB, severing the data connection.
How to Check Motherboard Damage from GPU (Step-by-Step)
Follow the steps mentioned below to isolate the problem:
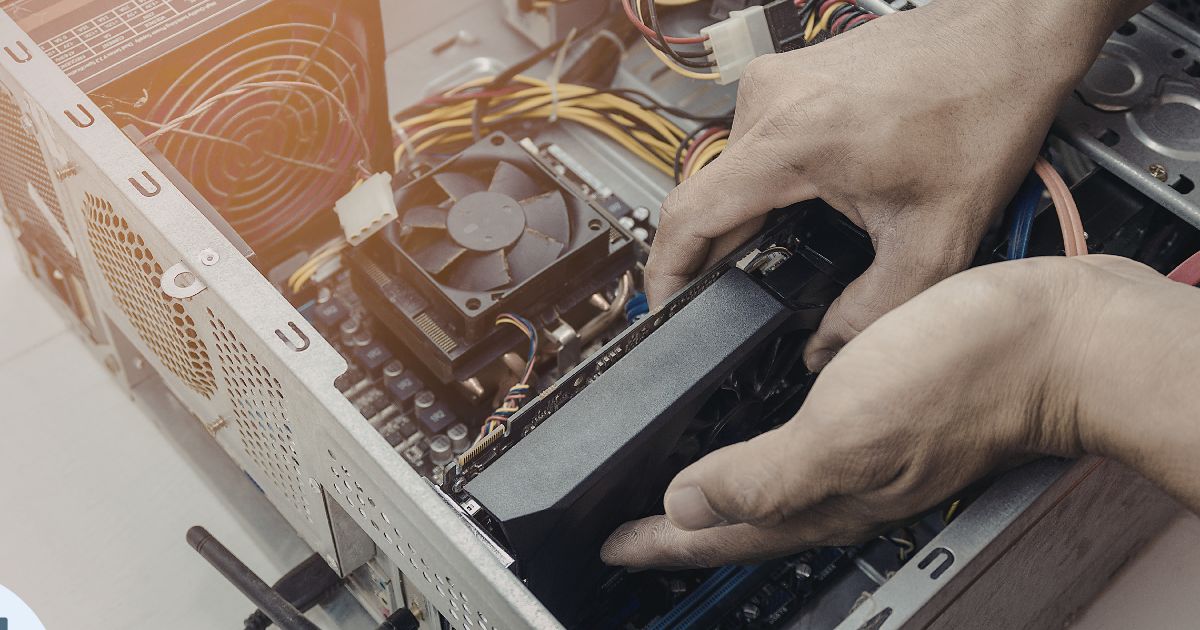
Step 1: Power Off and Inspect the PCIe Slot
Turn off your PSU and unplug the computer. Open the case and remove the GPU carefully. Put a flashlight into the PCIe x16 slot (the long slot where the GPU sits). Look for bent pins inside the slot, cracks in the plastic, or separation where the slot meets the board. If the slot is physically loose or wobbly, the solder joints are likely broken.
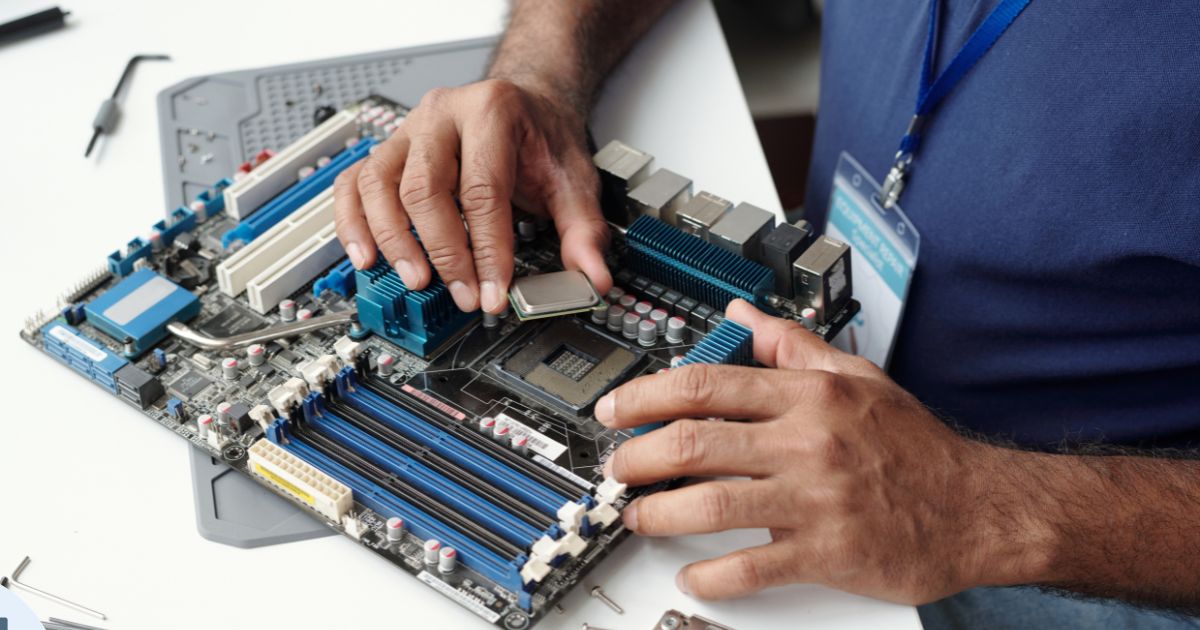
Step 2: Check for Burn Marks or Swollen Capacitors
Inspect the area immediately surrounding the PCIe slot. Look for scorch marks on the PCB, which indicate a short circuit. Check the cylindrical capacitors nearby; the tops should be perfectly flat. If a capacitor is bulging (domed) or leaking fluid/crust, the motherboard has suffered electrical damage.
Step 3: Test with Another GPU
The most definitive and simple test is swapping hardware. Install a different, known-working GPU into the same PCIe slot.
- If the PC boots: Your motherboard is fine, and your original GPU is likely dead.
- If the PC does not boot: The motherboard slot or the board itself is likely damaged.
Step 4: Test the GPU in Another PC
On the other hand you can take your original GPU and install it in a different, working computer.
- If the GPU works in the other PC: Your original motherboard is damaged.
- If the GPU fails in the other PC: The GPU is the problem.
Step 5: Reset CMOS and Check BIOS
Sometimes, a “damaged” motherboard can be just a corrupted configuration. Reset the BIOS to factory settings by removing the coin-sized CMOS battery for 5 minutes (or using the motherboard’s Clear CMOS jumper). Reinsert the battery and try to boot. If this resolves the issue, the hardware was not physically damaged.
Step 6: Use Integrated Graphics (If Available)
If your CPU has integrated graphics (e.g., Intel chips without an “F” suffix or AMD Ryzen 7000 series), remove the GPU entirely and plug your monitor directly into the motherboard’s HDMI or DisplayPort. If the system boots perfectly without the GPU, the issue is isolated to the PCIe slot or the GPU itself.
Common Causes of GPU-Induced Motherboard Damage
Here are some of the usual reasons behind having a GPU-induced motherboard damage:
Using Low-Quality Power Supply Units
Cheap PSUs lack necessary over-voltage and over-current protections. So when a GPU spikes in power demand, a cheap PSU can fail to regulate the voltage, sending a surge that kills both the card and the motherboard.
Overclocking Without Proper Cooling
Pushing a GPU beyond its factory limits can increase voltage and heat. If the motherboard VRMs aren’t cooled (common on budget boards), the excess thermal load from an overclocked GPU can burn out the board’s power phases.
Improper Installation of GPU
Forcing a card into a slot without opening the retention clip, or forgetting to screw the I/O bracket to the case, puts stress on the motherboard. This often leads to cracked traces.
Dust Build-Up and Poor Airflow
Dust is electrically conductive and insulative. A thick layer of dust in the PCIe slot can cause a short circuit, while dust filters blocking airflow trap heat, cooking the motherboard components.
How to Prevent GPU Damage to Your Motherboard
No one wants a damaged motherboard. So to avoid any unnecessary injury to the board do keep in mind the following points:
Use a Reliable PSU with Proper Wattage
Always buy a PSU from a reputable brand (like Corsair, Seasonic, or EVGA) with an 80 Plus Gold rating or higher. Make sure that the wattage has at least 100-150W of headroom above your system’s estimated maximum draw.
Avoid Cheap Power Cables and Adapters
Avoid using generic PSU cable extensions or low-quality splitters. If you have a high-power card (like an RTX 4090), make sure that the 12VHPWR connector is fully seated to prevent melting, which can damage the GPU and the power supply.
Monitor GPU Temperatures
Use software like HWMonitor or MSI Afterburner to keep an eye on temps. If your GPU hotspot hits 100°C+ regularly, adjust your fan curves or improve case airflow to protect the surrounding motherboard components.
Clean PCIe Slots Regularly
When swapping cards, blow out the PCIe slot with compressed air to make sure that no debris or dust causes connection issues.
Use Surge Protection
Always plug your PC into a high-quality surge protector or a UPS (Uninterruptible Power Supply). This protects the motherboard from external power spikes that can travel through the PSU.
FAQs
Inspect for physical damage like burnt spots, bulging capacitors, or bent pins. Test components individually: boot without the GPU using integrated graphics for motherboard checks, or swap the GPU into another PC for GPU checks.
Yes, a faulty GPU can damage the motherboard through PCIe slot warping from sag, electrical shorts sending surges, or power issues arcing via cables.
Perform a visual inspection for bulging capacitors or scorch marks. Test PSU separately, listen for beep codes, clear CMOS, and boot with minimal components; use tools like multimeters or POST cards if available.
Examine for bent pins, burn marks, or damage on connectors. Test in another PC, monitor for artifacts/crashes/overheating in Device Manager or benchmarks, and reseat in PCIe slot.